How to play
Stonespine Architects
The short answer
Stonespine Architects is a card-drafting dungeon-building game played over four years — you draft chamber cards into a 4x4 grid, buy monsters, traps and secret passages from the market, and score for blueprints, challenges and long connected paths.
- Players
- 1–5
- Play time
- 60 min
- Age
- 10+
- Complexity
- Light–Medium2.1/5
Last updated · Written and filmed by Boxman 3000
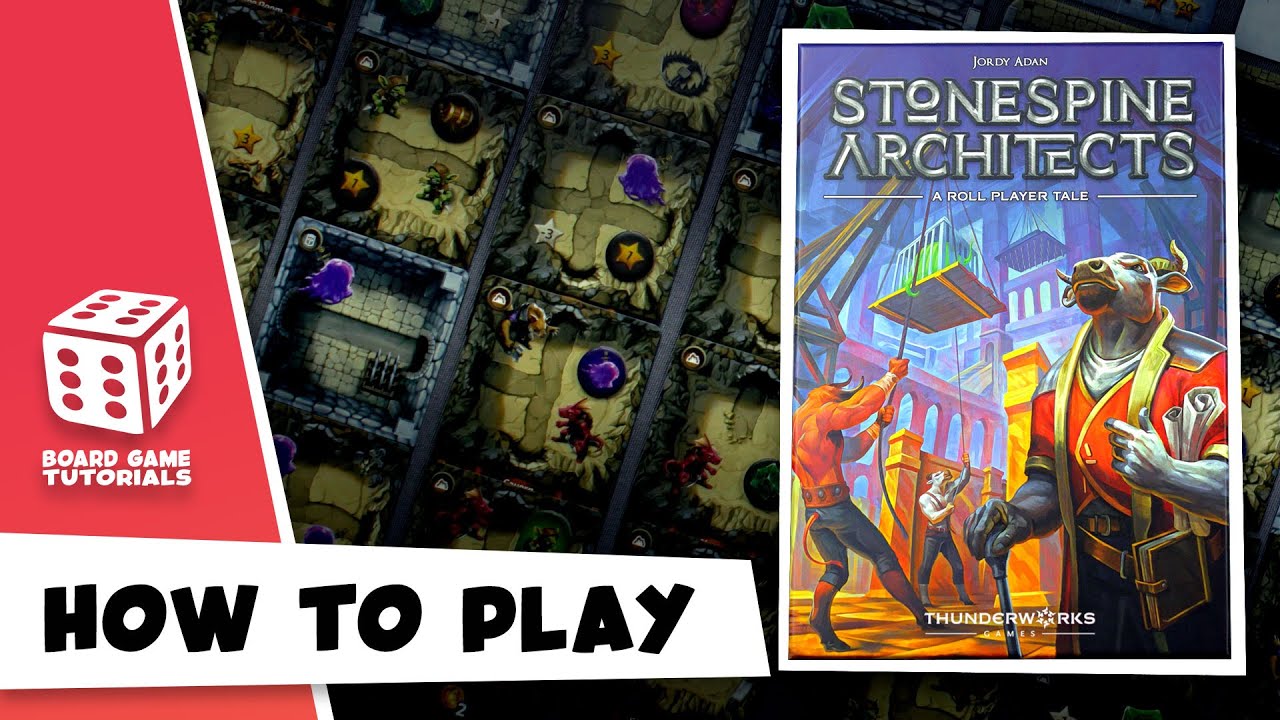
Watch on YouTube — plays here count toward the channel too.
Stonespine Architects is a drafting game about building the most impressive dungeon. Over four years you draft chamber cards into a grid, then spend gold at the market on monsters, traps and secret passages to fill those chambers.
By the end of year four everyone has a complete 4×4 dungeon, and the scoring rewards a dungeon that is simultaneously well-connected, well-stocked and built to your secret blueprint.
Setup
- Place the tracking board in the centre, 2–5 player side face up.
- Each player picks a colour and takes their tracking and doorway markers.
- Randomly place each player’s tracking token left to right on the priority track, then place their other marker on the gold track according to that priority position.
- Shuffle the goal cards, place one face up on the board, and box the rest.
- Shuffle the challenge cards and flip a number of them based on player count.
- Shuffle the market cards and lay them out by player count. Sort the market tiles face down into piles, then randomly place matching market tokens face up in their spaces on the market cards.
- Deal a blueprint card to each player. Each player assembles their dungeon frame and places a doorway at the entrance shown on their blueprint.
- Shuffle the chamber cards and deal 5 to each player, plus a reference card.
How a Year Works
Four years, each with a construction phase, an improvement phase, and cleanup.
Construction phase
Four turns of drafting. Each turn: place one chamber card from your hand into the current year’s row, then pass the remaining cards on.
- Pass clockwise in year 1, then reverse direction each following year.
- Place your four cards in the row in any order.
- The fifth card is discarded.
- Once a chamber card is placed it cannot be moved.
Players may agree to place cards face down and reveal simultaneously before passing, which stops later drafters reading the table.
Year 1’s row goes directly below the frame; each later year’s row goes below that, covering the gold amount printed on the previous row’s cards.
You do not have to match doors between neighbouring cards — but matching them creates the connected paths that score at the end, so it is usually worth doing.
Improvement phase
Step 1 — Count gold. Add up all the gold on the bottom of the chamber cards in this year’s row, plus 1 gold for each treasure chest anywhere in your dungeon. Set your marker to that total, to a maximum of 30 gold. In year 1, add your starting bonus. Then move the priority markers below the board.
Step 2 — Visit the market. Players take turns buying or passing, starting with the player holding the most gold (ties broken by higher priority).
To buy, choose a row on a market card, pay its gold cost, take every token in that row, and place them into your dungeon immediately. Placement rules:
- Tokens can go anywhere in your dungeon, including previous years’ rows.
- The slot must be empty — no other token, and nothing printed on the card there.
- A single card can hold no more than four elements, counting the ones printed on it.
- Secret passages must be placed on the edge of a card, even if that edge leads outside your dungeon.
When you are finished buying, you pass by claiming one of the face-up challenge cards, then move your priority marker to the leftmost open slot. In year 4 there are no challenge cards, so you simply place your priority token.
Cleanup
Discard leftover market tokens and cards, then draw new cards and place new tokens. Discard unclaimed challenge cards and draw new ones by player count — skip this in year 3, since year 4 has no challenge cards. Finally deal 5 new chamber cards to each player.
Final Scoring
At the end of year four, everyone places their second door marker at the exit shown on their blueprint. Then score:
| Category | Points |
|---|---|
| Final priority | 9 for first, 6 for second, 3 for third, nothing after that |
| Goal card | 15 for the best dungeon, 9 for second, 5 for third |
| Challenge cards | Whatever your three personal challenges are worth |
| Chamber reputation | Add and subtract every star value on your chamber cards |
| Blueprint | Based on matches — see below |
| Dungeon paths | 1 point per connected chamber, per doorway |
Goal card: you must have at least one of the elements named on the goal card to score it at all. Ties are broken on the priority track.
Blueprint: score for chambers containing the elements shown on your blueprint — and the element must be in the exact chamber position. Four matches score 5 points, five score 7, rising to 20 points for all eight. The score pad has the full scale.
Dungeon paths: a path is any run of chambers connected from the entrance or the exit, via printed doors or secret passages. Score 1 point for each chamber connected to the entrance and 1 point for each chamber connected to the exit.
That means a single path running all the way from the entrance to the exit scores twice — one point per chamber for each doorway it connects to. Building one long through-route is the single biggest scoring swing in the game.
Most points takes the title of Master Architect. Ties go to the higher priority position.
Solo Mode
You play against an automated rival driven by its own deck. It plays out like a two-player game with these changes.
Setup. Use the 1-player side of the tracking board. There is no priority track — return your second tracker to the box. There are nine rival cards at two difficulty levels: for a normal game remove the three with legendary icons; for a harder game, swap the diamond-icon cards for the legendary ones. Shuffle the remaining six and place them face down.
Construction. Reveal the top rival card. Place a chamber card from your hand, and keep one card in hand for next turn. Any cards matching the rival’s symbol go into its score pile. Then draw one card for each remaining spot in your row, and repeat until the row is full.
Improvement. Move your gold tracker as normal, then compare it to the revealed rival card. If you have more gold, visit the market or pass; if you still have more after buying, you may visit again. Otherwise the rival collects the tokens shown on its card into its scoring pile, and you discard the lowest-value challenge card.
When you pass in years 1–3: set your gold tracker to zero, claim a revealed challenge card, and the rival takes all remaining market tokens. In year 4, do not move your gold tracker — just flip it to show you have passed. The rival again collects any remaining tokens.
Scoring. As multiplayer, except final gold replaces priority: compare your final gold to the number on the rival’s card — most gold scores 9, the other 6. For the goal card, compare your dungeon to the rival’s collected chamber cards and market tokens: first place 15, second 9, and ties go to the rival. Then total the rival’s base reputation plus its reputation condition, and the reputation on its chamber cards and tokens. More reputation than the rival and you win.
Common Mistakes
- Moving a chamber card. Once placed it is permanent, so think before committing the awkward card.
- Forgetting the fifth card is discarded. You place four per year from a hand of five.
- Overfilling a card. Four elements maximum, and anything printed on the card already counts toward that.
- Placing a secret passage in the middle of a card. They must sit on an edge — that is the whole point of them.
- Ignoring door matching. It is optional, but connected chambers are what the path scoring pays for.
- Forgetting to claim a challenge card when you pass. Passing in years 1 to 3 is how you collect them, and you need three by the end.
- Missing the treasure chest gold. Chests pay out from your entire dungeon every year, not just the current row.
Frequently asked questions
- How long is a game of Stonespine Architects?
- Four rounds, called years, taking roughly 45 to 60 minutes. By the end of the fourth year every player has completed a full 4x4 dungeon.
- How does drafting work in Stonespine Architects?
- You are dealt five chamber cards, place one into the current year's row, and pass the rest on. After four placements the fifth card is discarded. Passing is clockwise in year one and reverses direction each following year.
- Can you move a chamber card after placing it?
- No. Chamber cards are permanent once placed, which is why players often place face down and reveal simultaneously to avoid giving information away.
- Where can market tokens be placed?
- Anywhere in your dungeon, including rows from earlier years, as long as the slot is empty and the card holds no more than four elements in total including the ones printed on it. Secret passages must be placed on the edge of a card.
- How do dungeon paths score?
- You score one point for every chamber in a continuous path connected to your entrance, and one point for every chamber connected to your exit. A single path running from entrance to exit therefore scores two points per chamber.
- How does blueprint scoring work?
- You score for chambers that contain the element shown on your blueprint in that exact position. Four matches score five points, five score seven, and matching all eight scores twenty.
- Do you have to match doors between chamber cards?
- No, it is entirely optional. But matched doors are what create the connected paths that score at the end, so ignoring them usually costs more than it saves.
- Can you play Stonespine Architects solo?
- Yes. You face an automated rival driven by a deck of nine cards at two difficulty levels. It plays like a two-player game, with final gold replacing the priority track, and you win by finishing with more reputation than the rival.